Gear & Apps
How to Take a Better Passport Photo: Vogue's Ultimate Guide
Nobody looks good in a passport photo, which is precisely what makes it interesting. The setup is engineered against you: a straight-on angle, a blank white...
Nobody looks good in a passport photo, which is precisely what makes it interesting. The setup is engineered against you: a straight-on angle, a blank white background, an extreme crop around the face, and lighting designed to satisfy a border agency rather than flatter a human being.
It is also the photograph you will live with for a decade, shown to strangers at check-in desks and occasionally produced at a bar. The good news is that the outcome is far more controllable than most people assume, and almost nobody bothers to control it.
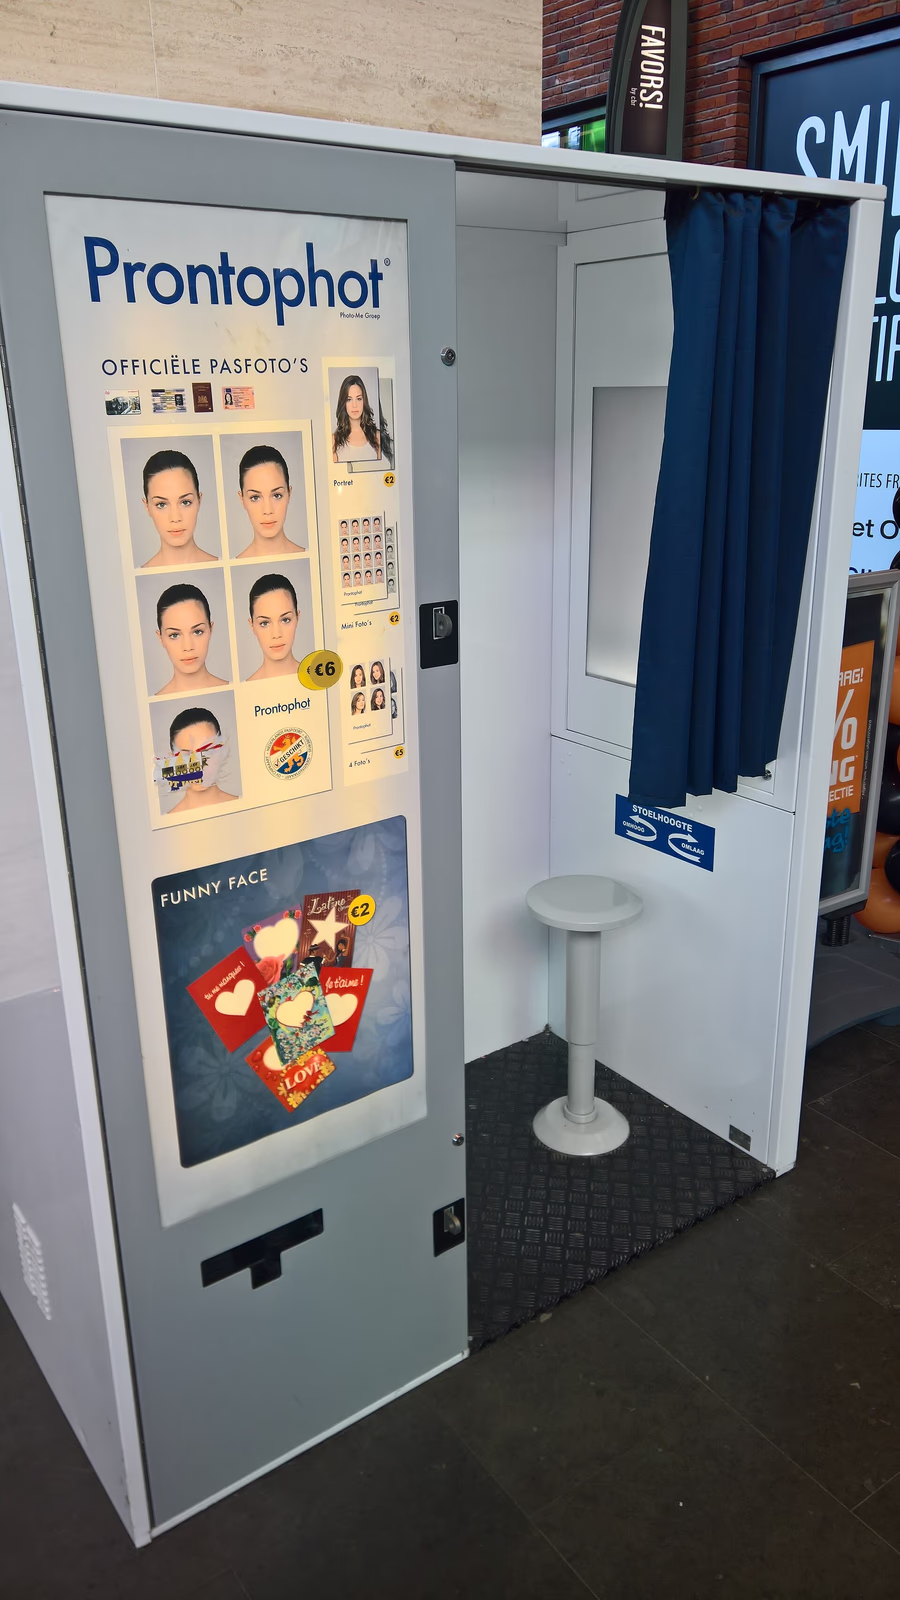
Photo: Passport pictures photo booth, Winschoten (2017).jpg.jpg) by Donald Trung — CC BY-SA 4.0, via Wikimedia Commons.
Master the Makeup Strategy
Kelli Bartlett, artistic director of Glamsquad, has three tips that work regardless of skill level or gender presentation, and all three are about compensating for what the camera and the lighting do to a face.
Use a matte foundation. Passport photo lighting is hard and frontal, and it turns any shine on the skin into a bright highlight. A matte base removes most of it while still looking like skin. Bartlett recommends products along the lines of Dior Backstage Face and Body Foundation for a finish that reads natural rather than painted.
Bring out the bone structure. A straight-on angle flattens everyone. "Help chisel your cheekbones with a little contour," Bartlett advises. "For a front-facing angle, lower your contour a little, following the hollow of the cheekbone towards the mouth's corner." A sculpting powder applied with a small fluffy brush gives control, so the definition looks like bone rather than makeup.
Say no to sparkle. Shimmer and glitter create texture on camera and add years to a face. "Instead, choose satin or matte textures on the eye," Bartlett says. A matte brown works on almost any skin tone, which is why it is the standard recommendation for a photograph that has to survive a decade.
The underlying principle is worth stating plainly: passport lighting removes shadow, and shadow is what gives a face shape. Every makeup decision here is adding back depth and removing reflection.
Take Control of the Photo Process
The part most people do not know is that, as long as the photograph meets the legal requirements, anyone can take it. It does not have to come from a booth or a passport office.
That changes the calculus completely. Digital film is free, so the sensible approach is to take dozens of frames rather than one, and to choose from them rather than accepting whatever the machine produced. A friend with a decent phone and a willingness to shoot fifty pictures will usually do a better job than a coin-operated booth, and a photographer friend will do better still.
Commercial options exist and vary in quality. Dedicated ID photo shops have the right setup, including a white screen, fill light and a bounce board, and some let you review the images before printing, which is the single most valuable feature to look for. They will not usually tolerate many reshoots unless you pay for the time, which is still cheaper than disliking the result for ten years.
Home printing is straightforward. If the image meets the specifications, it can be printed at any drugstore photo centre, though you may need to crop it yourself and check the head size carefully.
The Technical Requirements
These are the specifications that matter, and failing one of them gets the application rejected rather than the photograph criticised.
- Size. 2 by 2 inches (51 by 51 mm) for a US passport.
- Head size. From chin to crown, 1 inch to 1 3/8 inches, which is roughly half to two-thirds of the frame.
- Background. Plain white or off-white, with no texture, shadows or objects.
- Angle. Facing the camera directly. No tilting, no profile, no looking over a shoulder.
- Lighting. Even, with no shadow on the face or the background, and no shadow cast by the head.
- Expression. Neutral or a natural closed-mouth smile.
- Glasses. Not allowed in US passport photos. Remove them.
- Recency. Taken within the last six months, and it must not be digitally altered to change your appearance.
- Print quality. A clear, sharp image on photo-quality paper, unretouched.
Two practical notes that catch people out. First, other countries use different dimensions: the UK and most of the EU require 35 by 45 mm, so check the destination before you print. Second, makeup and lighting designed to flatter are fine, but anything that changes the shape of your face in the image is a problem, since the photograph has to remain a recognisable likeness.
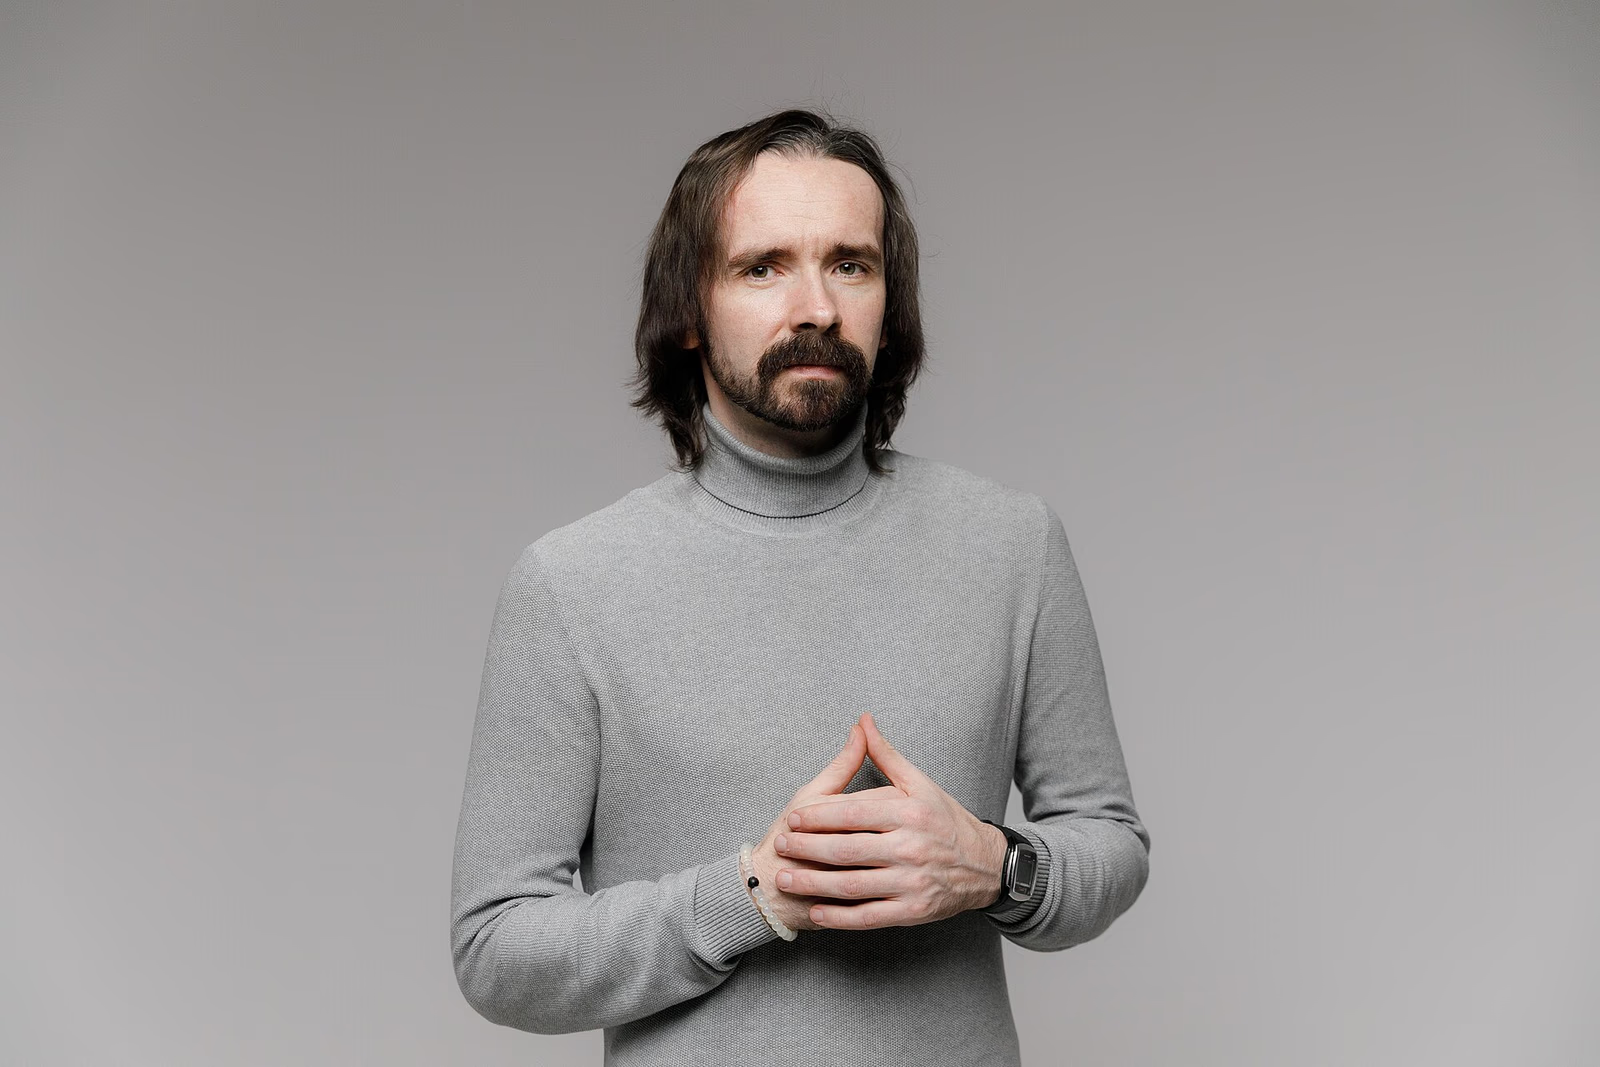
Photo: Scientist (chemist) Siarhei Besarab Studio portrait 2026 (01).jpg_Siarhei_Besarab_Studio_portrait_2026_(01).jpg) by Volha Sh — CC BY-SA 4.0, via Wikimedia Commons.
How to Set Up the Shot at Home
If you are taking the photograph yourself, the difference between a good result and a bad one is almost entirely about light and distance.
Get the light in front of you, not above you. Face a window on an overcast day, or use two lamps placed to either side of the camera at face height. Overhead light puts shadows under the eyes and nose, which is the single most common reason home passport photos look wrong.
Diffuse everything. A white sheet or a sheet of tracing paper held in front of a lamp turns a hard source into a soft one. Softer light means fewer shadows and no hotspots.
Stand 1.5 to 2 metres from the camera. Too close and the lens distorts the face, widening the nose and making the head look disproportionate. A phone's wide lens is the worst offender, so back up and crop instead of moving closer.
Shoot at eye level. The camera should be at the height of your eyes, not below your chin. Shooting up adds shadow under the jaw and distorts proportion.
Take fifty frames and change something between them. Chin slightly up, chin slightly down, a millimetre of turn either way. The difference between a picture that looks like you and one that looks like a hostile stranger is usually a single small adjustment.
Check the specifications before you print. Head size is the requirement people most often miss, and it is measured, not eyeballed.
The Deeper Truth
One Vogue writer spent months obsessing over her passport photo and then lost her passport in Shanghai. The lesson she took from it is worth repeating: the only person who cares how you look in it is you. A customs officer is checking that the document is authentic and that the person holding it is the person in the photograph, not whether the lighting was kind.
That reframe is genuinely useful, because it points at the actual goal. A passport photo should look like you on a normal day: recognisable, current, and legible at a glance. In an era where every other image is curated, the photograph that hangs around for a decade is the one nobody edits, and there is something quietly liberating about that. The best passport photo is simply the one that looks like you.
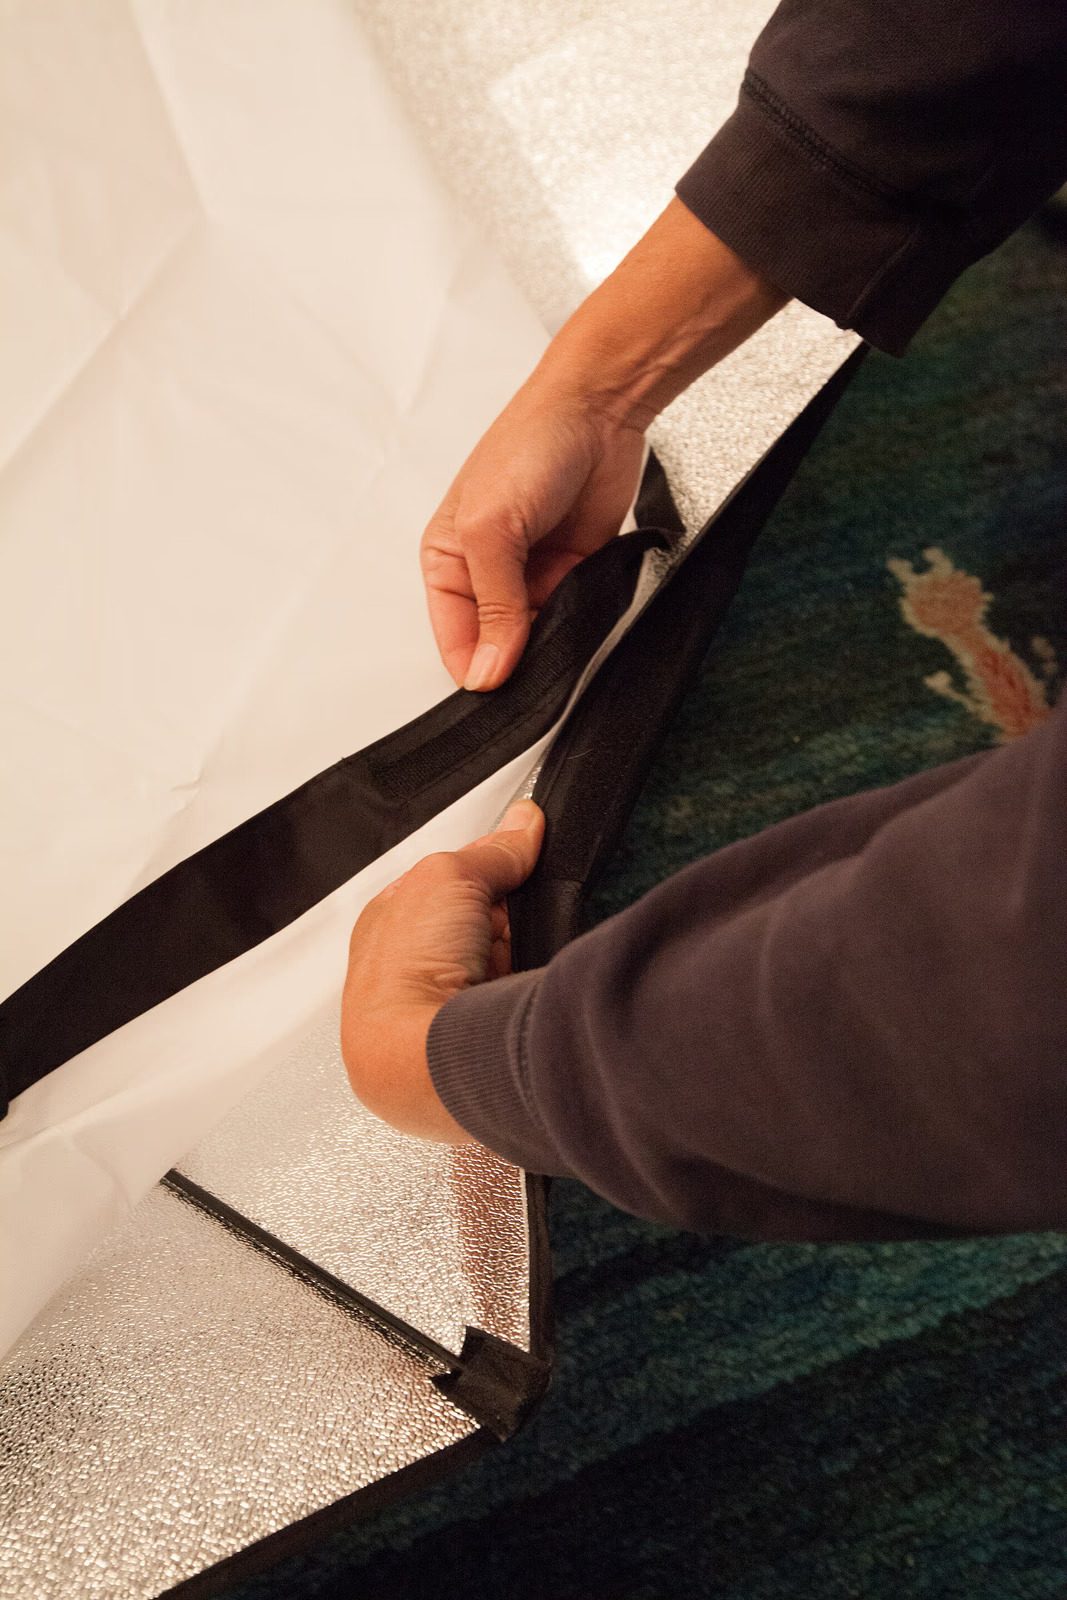
Photo: Studio Lighting Equipment WMDE IMG 3261 edit.jpg by Christoph Braun — CC0, via Wikimedia Commons.
Practical Tips
- Use a matte foundation or translucent powder to control shine from hard frontal light.
- Contour slightly lower than usual, following the hollow of the cheekbone towards the corner of the mouth.
- Avoid all shimmer, glitter and sparkle on the eyes and face.
- Take dozens of frames. Digital costs nothing and you only need one.
- Choose a shop that lets you review images before printing, or take the photo at home.
- Use soft, even light from the front, slightly above eye level, with the source diffused.
- Stand 1.5 to 2 metres back and let the camera sit at eye level.
- Wear dark or jewel-toned clothing; white blends into the background.
- Check the head size measurement and the correct dimensions for your country before printing.
- Accept that a passport photo is identification, not portraiture. Recognisable beats beautiful.
Further Reading
Conclusion
A passport photo is the most constrained portrait most people will ever sit for, which is exactly why preparation pays off. Matte makeup to kill reflection, contour to replace the depth that frontal light removes, soft even lighting, a sensible distance from the lens, and enough frames to choose from cover almost the entire problem.
The rest is expectation management. This is a document, not an artwork, and the standard it needs to meet is that a tired border officer recognises you instantly. Get the technical requirements right, take more photographs than feels reasonable, and pick the one that looks like you on an ordinary Tuesday.
FAQ
Can I take my own passport photo at home?
Yes, provided it meets the requirements: the correct size, a plain white background, full face visible, even lighting with no shadows, a neutral expression, and the specified head size from chin to crown. Print it at a photo centre or drugstore that offers passport printing.
What should I wear for a passport photo?
Avoid white and very light colours, which blend into the background. Dark or jewel-toned tops work best, and plain fabrics beat busy patterns or large logos. A simple collared shirt or a dark top photographs cleanly and does not date.
Should I smile in a passport photo?
A natural, closed-mouth smile is permitted for US passports; an exaggerated or toothy grin is not. The safest expression is neutral to slightly pleasant, and the goal is to look like yourself rather than to look good.
How do I avoid shine in a passport photo?
Use a matte foundation or a light dusting of translucent powder, applied just before the photograph. Avoid products containing mineral SPF for the day itself, since they can cause a white cast under flash, and keep the light source in front of you rather than overhead.
How often do I need a new passport photo?
Adult US passports are valid for ten years and need a new photograph on renewal. Children's passports last five years. If your appearance has changed substantially, you may need to update the photograph sooner rather than waiting for renewal.
What are the exact photo requirements?
For a US passport: 2 by 2 inches, head 1 to 1 3/8 inches from chin to crown, plain white background, no glasses, taken within the last six months, sharp and unaltered. Other countries differ, so confirm the dimensions required by the passport you are applying for.